Monthly Archives: June 2019

Azure Bastion – Securely access your Azure VMs

As part of my Azure feature series lets take a look at Bastion (now in preview)

What is it?

Securing access to public facing cloud based VMs is a potentially risky and costly concern for businesses. Using services like JiT (Just in Time Access) to reduce the attack surface requires that your Security Center Service Plan has been upgraded to Standard as the service is not available on the Basic Service Plan.

Say hello to Azure Bastion

Now with Bastion you can remove the attack surface completely by allowing connections via port 443 for Windows and SSH for Linux integrated into the Azure Portal, thereby removing the risk of port scanning and removing the need for public facing IP addresses for your VMs.

Below are some of the key features currently available at this time:

Top-level Azure Bastion architecture

How to activate the Public Preview

The service is currently in preview, which means you need to activate it with the below steps:

  1. Make sure you are connected to the Azure Preview portal here
  2. Open Azure Shell and run the below three commands:
    (If you have the Az PowerShell module remember to change AzureRM to Az)
    • Register-AzureRmProviderFeature -FeatureName AllowBastionHost -ProviderNamespace Microsoft.Network
    • Register-AzureRmResourceProvider -ProviderNamespace Microsoft.Network
    • Get-AzureRmProviderFeature -ProviderNamespace Microsoft.Network

Getting started

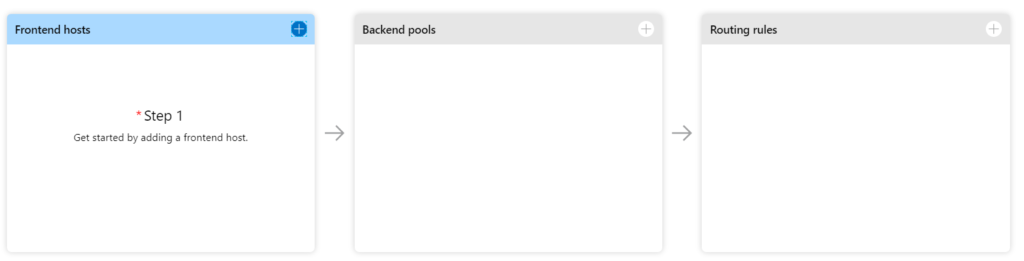
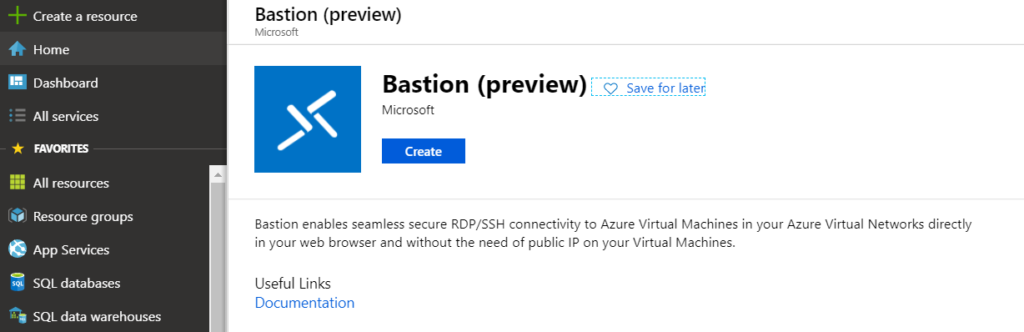
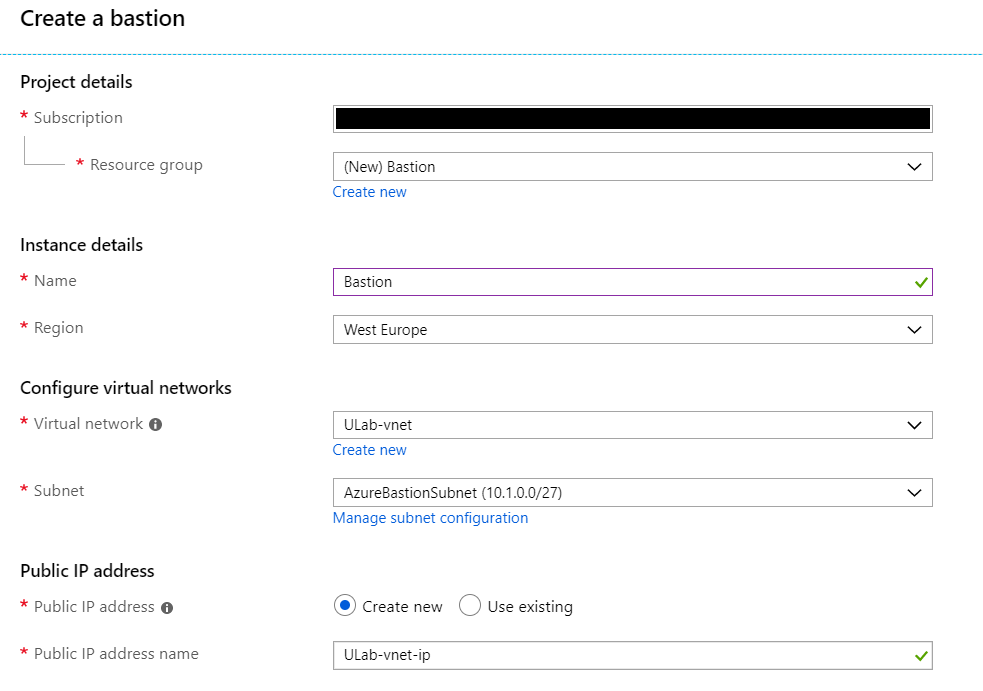
From the homepage of the Azure Preview Portal click + Create a resource and search for Bastion (Preview), then click create.

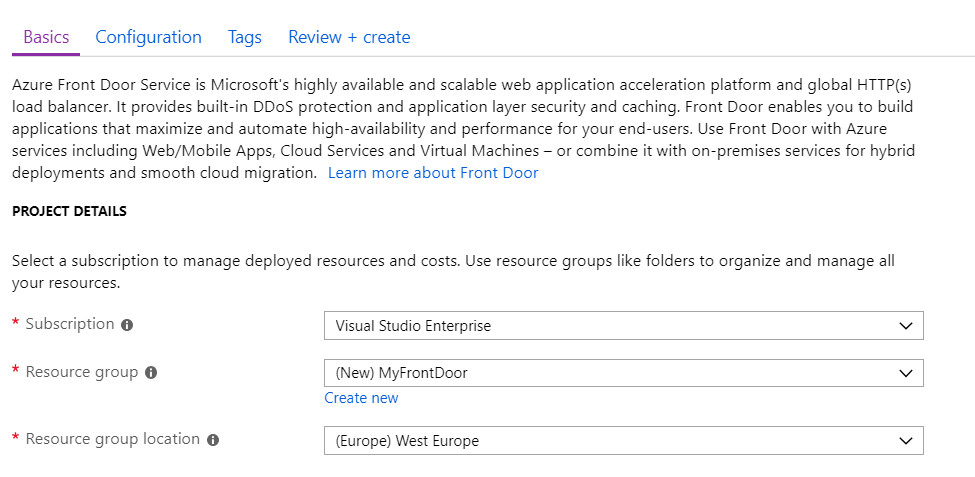
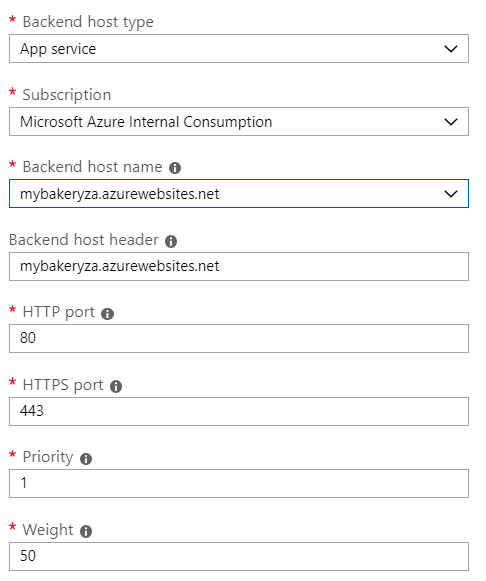
Choose your subscription and resource group, it is important to note that you have to create a subnet called AzureBastionSubnet. This value lets Azure know which subnet to deploy the Bastion resources to. It is recommend to use at least a /27 or larger subnet. Create the AzureBastionSubnet without any Network Security Groups, route tables, or delegations. Once done create the Bastion.

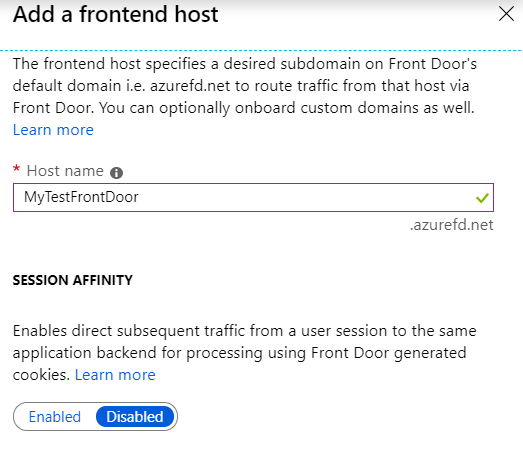
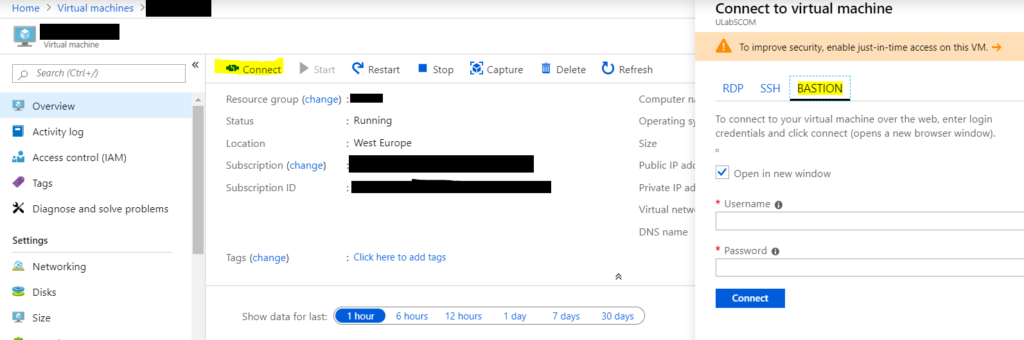
Once your Bastion is deployed, from the Azure Portal navigate to the VM you want to connect to and click connect, you will see a new option called BASTION next to the familiar RDP and SSH options. Enter the credentials and click Connect.

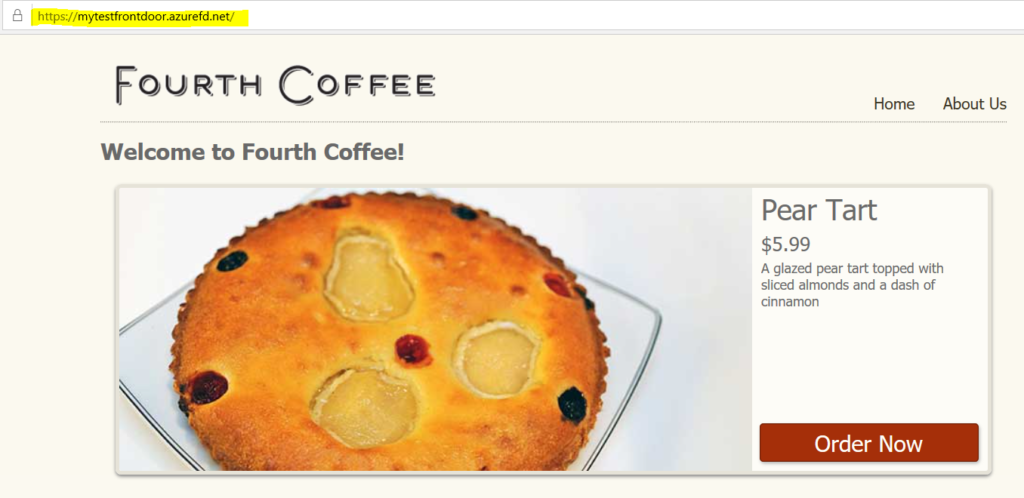
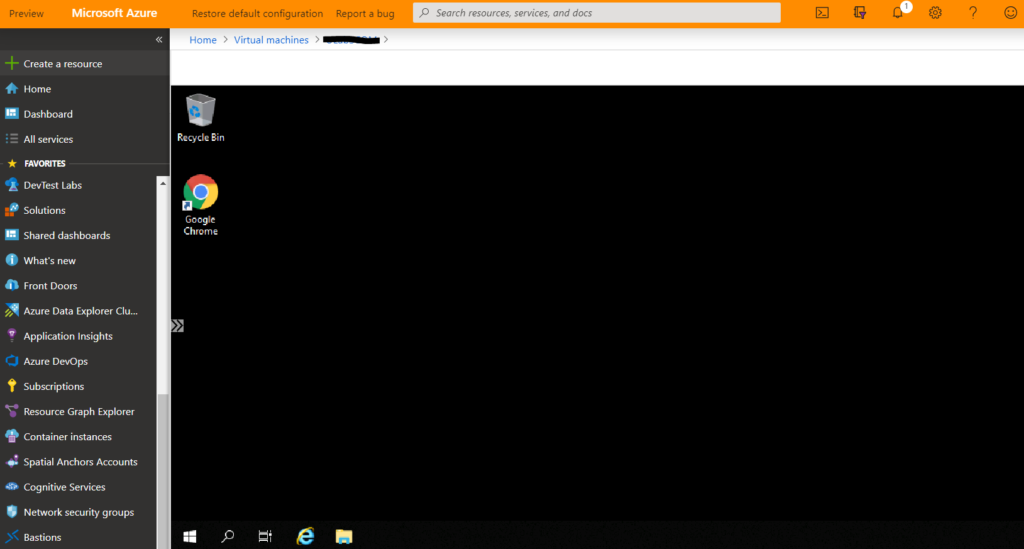
And there you have it, your VM is securely accessible through the Azure Portal without needing a public facing IP address.

Conclusion

Bastion is a fantastic and a much needed service which allows secure access to your cloud Windows and Linux VMs without any exposure of public IPs ultimately allowing the removal of the VM attack surface in your Azure environment.

Loading

Ding Dong it’s Azure Front Door

As part of my Azure feature series lets take a look at Front Door.

What is it?

Azure Front Door Service provides a scalable and secure entry point for fast delivery of your global web applications.

This essentially means that by placing a Front Door ahead of your application you gain increased performance and security.

Getting started

Setting up is straight forward, if you’d like to test Front door and you don’t have an application to use you can setup a sample web app using my previous article here .

First click New Resource in your Azure Portal and search for Front Door, then click Create

Choose your subscription ,resource group and Azure region. then click Next: Configuration

Now it’s a simple three step process

  1. Add a frontend host
  2. Configure backend pools
  3. Configure routing rules

Adding a Frontend Host

Click the + icon in the corner of the frontend host window and give you frontdoor a name and enable Session Affinity if required.

Adding a Backend Pool

Next click the + icon in the corner of the backend pool window. Give your pool a name, configure your load balancing and then click on add a backend.

Backend hosts can be various types in this example we are using an App Service, you can also use Cloud Service, Storage, Storage(Classic) or Custom host. Select your Subscription and backend host and click add and then add again.

Adding Routing Rules

Next click the + icon in the corner of the routing rules window. Give your rule a name, decide if it must accept HTTP or HTTPS or both and select your frontend host. Next configure the forwarder and enable caching if required, if your app uses lots of static content this will drastically improve load time performance, then click add.

click Review + Create and then Create

You should now be able to access your application using the frontdoor URL available on the top right hand side of the Overview blade.

How much better is it?

Below we have two speed test results one for my webapp API and one for my Frontdoor we can see a 53% improvement from 1.33 seconds to 710 milliseconds.

Webapp Load Test

Frondoor Load Test

Loading

Management Pack Recap – May 2019 Wave

This is a summary of the wave of Management Packs that were released in May 2019. Information and download location in the links provided:

Lenovo Hardware Management Pack v7.6.0.8here

If you know of any other Management Packs that have been released recently that I may have missed leave me a note in the comments and I’ll add them

Loading